Live Agent Console
The Live Agent Console is your workspace for handling customer interactions that have been transferred from an AI agent or initiated directly. It provides all the tools you need to manage conversations, view customer information, and use AI-powered assistance to resolve issues efficiently.
Permissions
Access to this page is typically granted to users with agent permissions, along with owner, or admin roles.
Page Overview
The console is organized into several key areas to help you manage your workflow:
- Listening Controls: A toggle button to make yourself available to accept new customer chats.
- Engagement Queue: A dropdown list of customers waiting for an agent.
- Active Engagements: A dropdown list of your current, ongoing conversations.
- Customer Information Panel: Displays relevant data about the customer you are currently helping.
- Live Chat Window: The main area for communicating with the customer.
- Engagement Controls: Tools to update the status of the conversation and add notes.
- AI Tools: Buttons to get real-time assistance or a summary of the conversation from an AI.
How to Use the Live Agent Console
Here is a typical workflow for a human agent using the console.
1. Start Your Shift
To begin accepting chats, click the "Start Listening" button. The system will now notify you when new customers are waiting. The button will change to "Stop Listening", which you can click at any time to stop receiving new chat requests.

2. Accept a New Chat
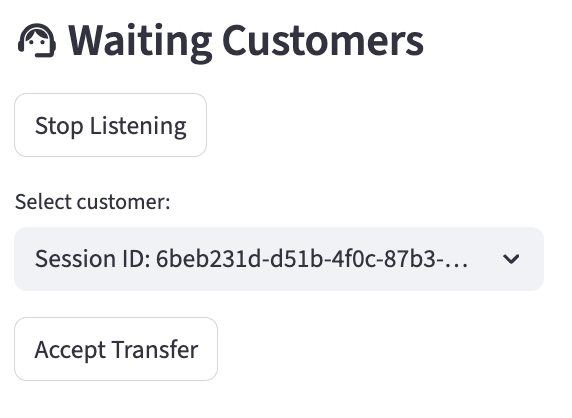
When a customer is transferred from the AI, they will appear in the "Waiting Customers" dropdown list.
- Select a customer from the list.
- Click "Accept Transfer".
- The page will load the customer's information and chat history, and you will be connected to them in the Live Chat Window.

3. Manage the Conversation
Once an engagement is active, you have several tools at your disposal:
-
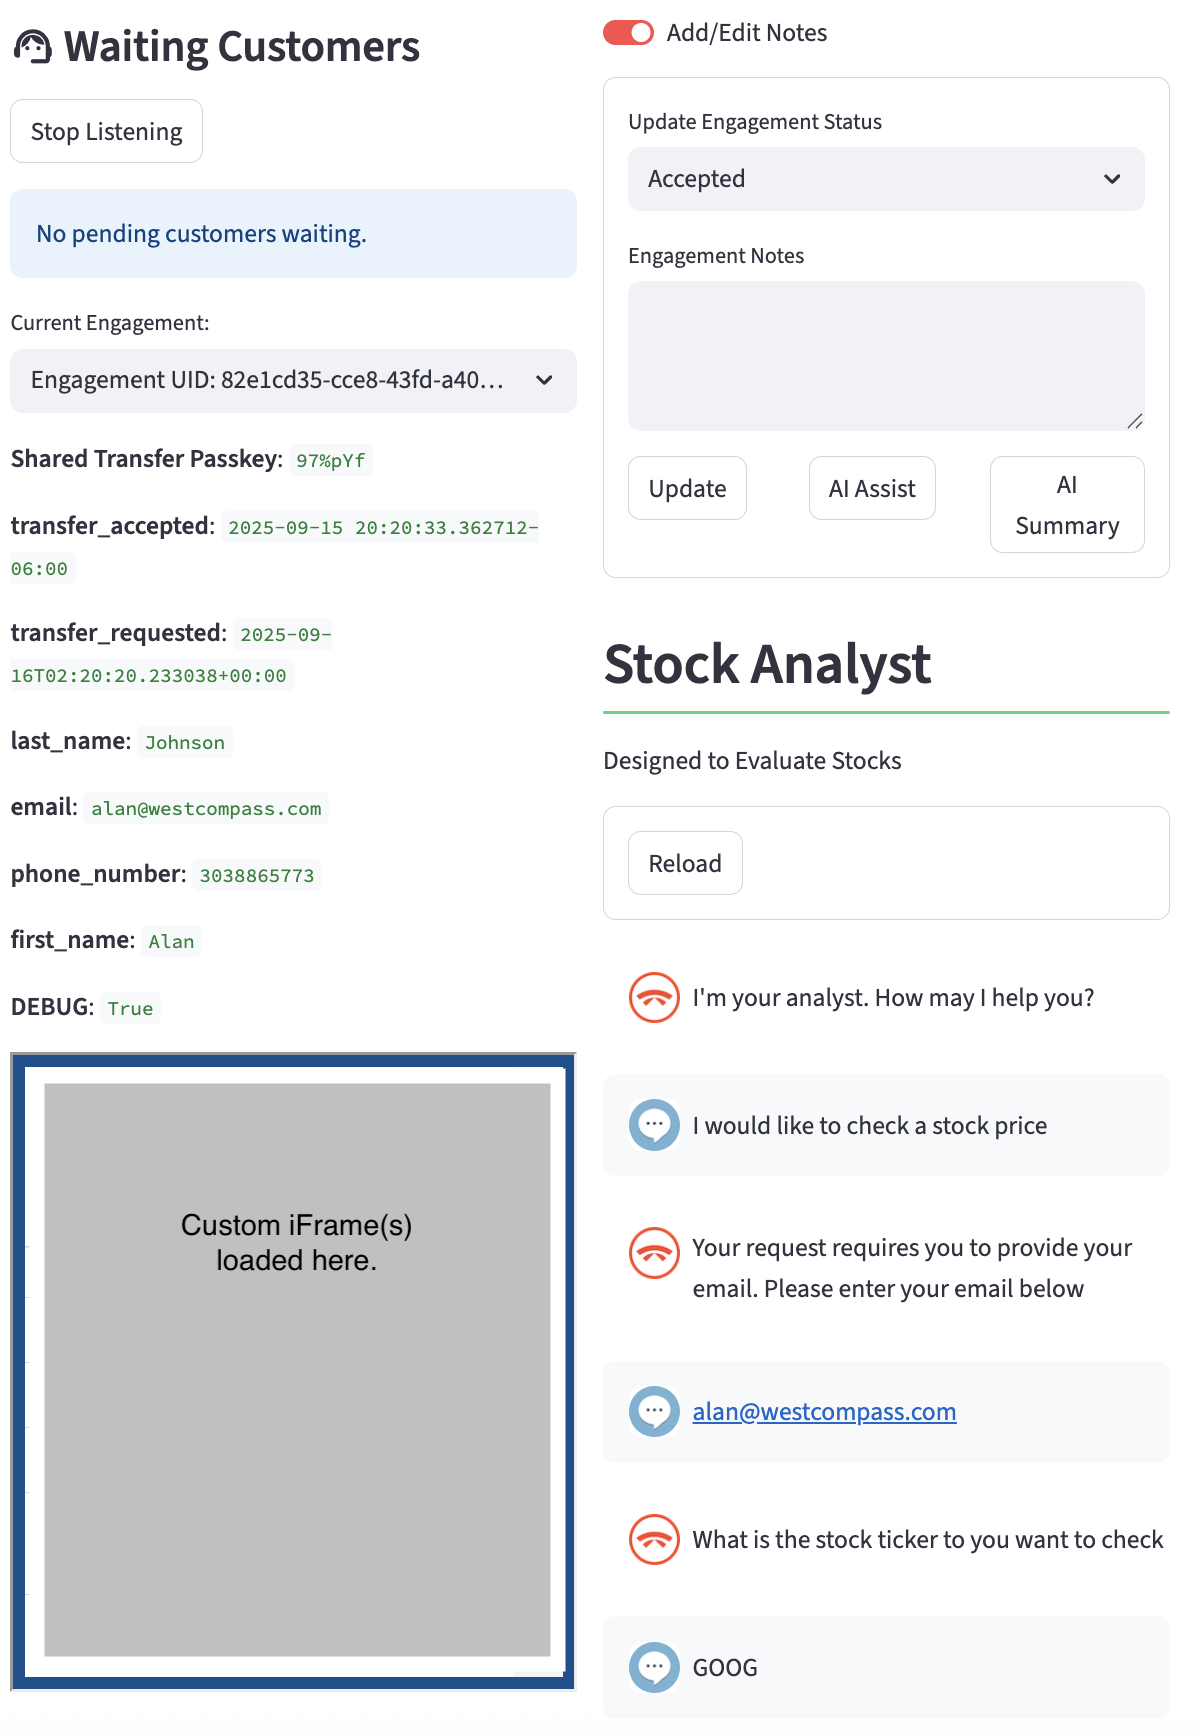
Customer Information: On the right side of the screen, you will see a panel with key information about the customer that was collected by the AI agent before the transfer. This might include their name, account number, or the nature of their issue. If a Shared Passkey was generated for security, it will also be displayed here for you to verify with the customer.
-
Live Chat: Use the chat input at the bottom of the page to type messages to the customer. Their replies will appear in the chat history above. The conversation history from their interaction with the AI agent will also be visible, so you have full context.
-
iFrame Panel: An integrated iFrame may be displayed, providing access to external tools, knowledge bases, or CRM systems directly within your workspace.
4. Use AI-Powered Tools
Your administrator may have enabled AI tools to help you during the conversation:
- AI Assist: If you need a suggestion on how to respond, click the "AI Assist" button. The system will analyze the conversation and provide a real-time suggestion.
- AI Summary: At any point, you can click the "AI Summary" button. The AI will read the entire conversation and generate a concise summary, which is automatically added to your engagement notes.

5. Update and Complete the Engagement
- Engagement Status: Use the "Engagement Status" dropdown to keep track of the conversation's state (e.g., "In Progress", "Chat Finished").
- Engagement Notes: Use the text area to add any notes about the interaction. This is where the AI Summary will also appear.
- Ending the Chat: When the issue is resolved, set the status to "Completed" and save your notes. This will formally end the chat session and disconnect you from the customer. You can then go back to the "Waiting Customers" list to accept a new engagement.